The tutorial wants you to admire chrome. Ignore it. Spend your first hour mastering the scan tool, hoarding every bolt and hose you remove, and refusing jobs that pay flat rate until you own a parts washer. These three habits separate players who go bankrupt in week two from those who build a profitable shop.
The Anti-Tutorial: What the Game Doesn't Teach You
Truck Mechanic's guided opening misleads you in two critical ways. It emphasizes visual inspection—walking around the cab, popping the hood, spotting obvious damage. This feels satisfying. It also wastes billable hours on every job after the first three.
The hidden variable: the OBD scanner pays for itself on job four, not job forty. Most new players treat it as a late-game luxury because the tutorial buries it behind a "recommended tools" prompt that looks optional. It isn't. Scanner diagnostics complete in roughly 15 in-game seconds and reveal fault codes that would take 5–7 minutes of manual tracing. At early-game labor rates, that's $200–$400 in lost revenue per job. By day three, you're down the cost of an entire engine rebuild.
The second under-explained mechanic is part condition persistence. Removed components don't reset. That rusted exhaust manifold you tossed behind the shop? It stays rusted. New players often sell "broken" parts for scrap value without realizing the parts washer restores them to sellable condition. The math is brutal: a dirty turbocharger sells for $90 scrap, $340 cleaned. The washer costs $1,200. You break even at roughly five medium components. Most players hit that by lunch on day two and never notice.
Here's the asymmetry the tutorial hides: clean parts fill your shelves for future jobs, while buying new parts from the catalog incurs markup and shipping delays. Early players who wash and hoard build job-completion speed that compounds. Players who sell dirty and reorder stall out waiting for deliveries on timed contracts.
The decision shortcut: on your first job, remove every component the scanner flags. Even if the client only asked for a brake line. Wash everything. Store everything. The inventory system has no practical limit, and you'll need that exact turbocharger in six hours.

The Three Mistakes That Kill Early Runs
Mistake 1: Accepting Every Job on the Board
The job board sorts by payout, not by profit. A $2,800 engine rebuild sounds appealing. It requires parts you don't have, tools you can't afford, and 45 in-game minutes that could complete three $900 brake jobs. Early runs live or die on throughput, not headline numbers.
The trade-off: flat-rate jobs (quoted price, your problem if it goes long) versus time-and-materials. Flat-rate rewards speed. Without experience, you eat overruns. Time-and-materials caps your upside but eliminates bankruptcy risk. For your first ten jobs, take only time-and-materials. The board hides this filter behind a right-click menu most players miss.
Mistake 2: Buying Tools Before Testing Them
The game offers a tool rental system that the UI renders in small gray text. New players buy $3,400 torque wrenches because the catalog makes ownership feel like progress. Rent instead. Test the workflow. Many "essential" tools see use twice per in-game week. The rental fee pays for itself if you would have owned the tool for more than eight days without use.
Specific numbers from the tool menu: engine hoist rental runs $180/day, purchase $4,200. At early job frequency, you need 23 engine removals to justify purchase. Most players don't hit that until week three—if they survive that long.
Mistake 3: Ignoring the Test Drive
Completed jobs offer a "deliver" button immediately. Resist. Every vehicle has a post-repair test drive option that takes 90 seconds and reveals lingering faults the scanner missed—intermittent electrical shorts, alignment drift, transmission slip under load. Delivering a truck with hidden faults triggers callbacks. Callbacks pay zero, consume parts, and tank your shop reputation. The reputation system isn't visible until level 5, by which point many players have already locked themselves out of premium clients.
The asymmetry: one callback costs more than five test drives save. Test every repair.
The Next Three Decisions That Shape Your Run
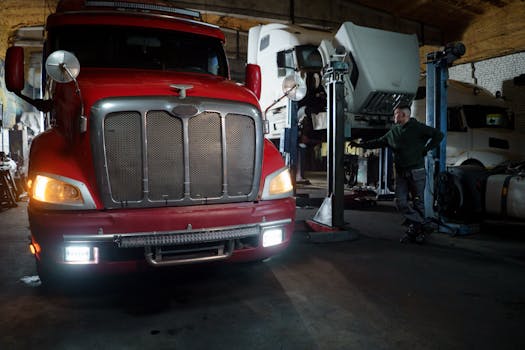
Decision 1: Parts Washer or Lift? (Hour 2–3)
You'll face this around job eight. The lift lets you work on chassis and transmission without crawling. The parts washer unlocks component resale and future-job hoarding.
Choose the washer. The lift saves time. The washer creates money. Money buys the lift later with less stress. Players who reverse this order often stall at the lift's $6,800 price because their cash flow dried up buying new parts for every job.
Decision 2: Specialization or Generalist? (Day 2)
The skill tree opens after level 3. It tempts you with broad bonuses—faster bolting, better prices. Ignore these. Pick one system (brakes, electrical, or engine) and max it. Specialized jobs pay 40% more and appear more frequently once your reputation aligns. The generalist path spreads you thin on a tree that rewards depth.
Hidden variable: the "frequent customer" bonus stacks with specialization. A brake specialist who completes ten brake jobs for the same fleet client unlocks a retainer contract. Retainers guarantee minimum weekly income. Generalists rarely trigger this because their job scatter prevents the loyalty buildup.
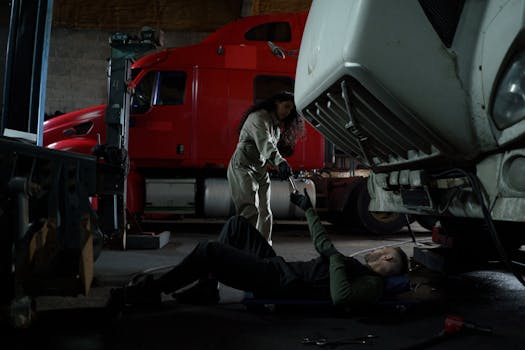
Decision 3: Employee or Bigger Bay? (Day 3–4)
Your first hire costs $800/week base plus tool access. The second bay costs $12,000 upfront. Most guides push the bay. They're wrong for early game.
The employee works parallel jobs while you handle diagnostics. This doubles throughput without doubling your fixed costs. The bay sits empty half the time if you lack the parts inventory to keep two jobs moving. Hire first. Expand physical space only when your shelves overflow and your employee idles.
The One Change That Fixes Everything
Stop treating Truck Mechanic as a restoration fantasy. The chrome comes later. Treat your first run as a cash-flow exercise: scanner first, hoard everything, test every repair, specialize brutally, hire before you expand. The players who "get" this by hour two are the ones posting profitable week-one screenshots. Everyone else is restarting.


