Marathon Introducing Sekiguchi contract Beginner's Guide - Tips & Tricks
Getting Started
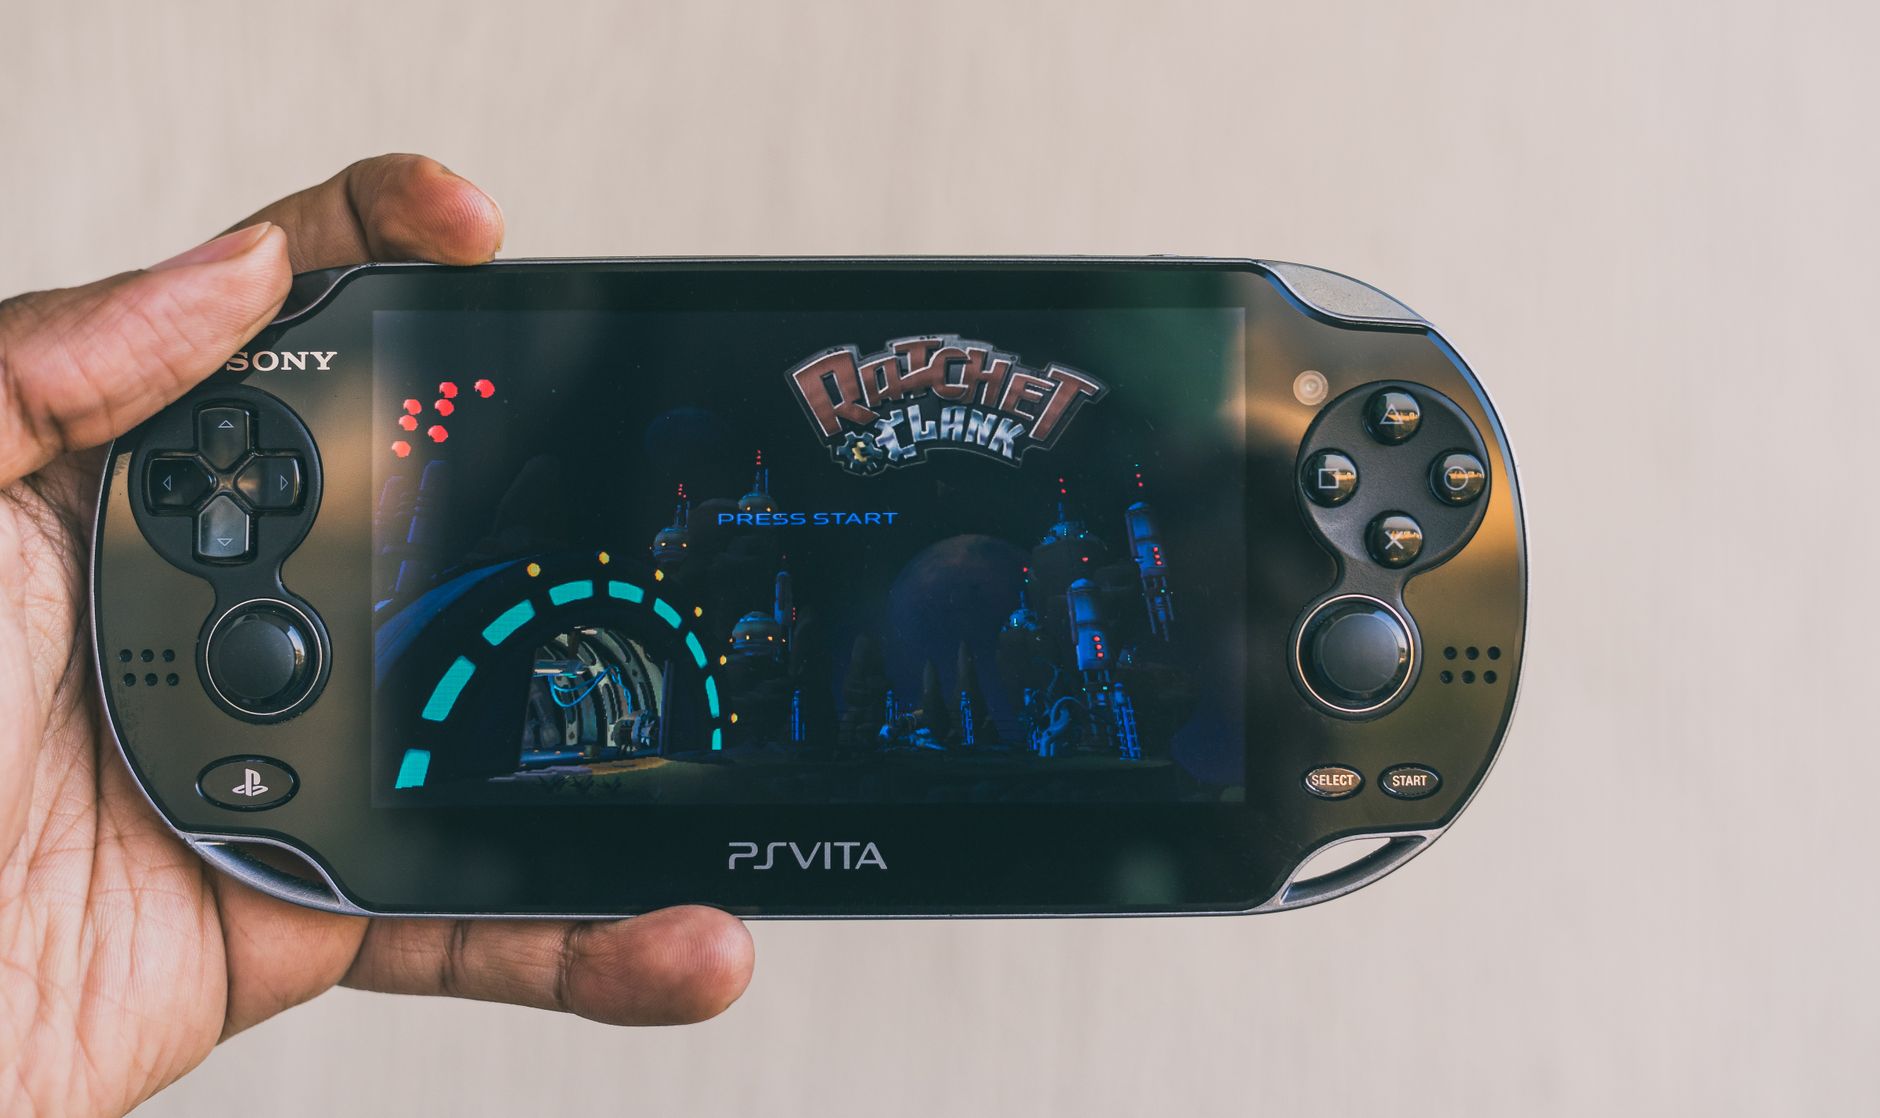
Understand what the Sekiguchi Contract is
In Marathon, the Sekiguchi Contract is your first serious progression track: a mix of tutorial, faction reputation path, and practical gear onboarding. Think of it as the game’s way of teaching you how to survive real extraction runs while also giving you meaningful unlocks. If you try to skip it, you can still play, but your power curve, economy, and map confidence will lag behind players who complete the contract in order.
Your first goal is simple: learn systems while staying alive long enough to extract consistently. Don’t obsess over K/D, flashy loot, or high-risk zones in your first sessions. Marathon rewards decision quality over mechanical speed in the early game.
Create your runner with a role in mind
If character creation includes class-like archetypes, pick one based on comfort, not hype:
- Scout/recon style: best for players who like information, mobility, and avoiding bad fights.
- Assault/brawler style: best if you are confident in aim and close-range pressure.
- Support/tech style: ideal for methodical players who value utility, traps, hacking, and sustain.
New players usually perform best with a mobility + utility setup because it forgives routing mistakes and helps disengage when outnumbered.
Do your first loadout correctly
Your starter loadout should prioritize consistency:
- A primary weapon with controllable recoil at medium range.
- A sidearm or secondary that is reliable in panic moments.
- At least one utility item for escape (smoke, jammer, mobility burst, etc.).
- One healing/sustain consumable minimum.
Beginners often over-pack expensive gear and lose it before extracting. Instead, run “disposable but functional” kits until your survival rate improves.
Treat your first 5-10 matches as data collection
In early runs, your objective is to answer practical questions:
- Where are high-traffic fight zones?
- Where can you loot quietly?
- How long does it take to rotate from spawn to first objective?
- Which extraction points are safest from your usual route?
If you leave each run with one new map insight, you are progressing correctly even when loot is average.

Core Mechanics
Extraction loop: risk, objective, exit
Marathon’s core loop revolves around three decisions:
- How much risk you are willing to take this run.
- What objective you’re committing to (contract step, loot route, PvP hunt, recon).
- When to exit before greed kills the run.
Most losses come from changing goals mid-run without adjusting risk. If you entered to complete a Sekiguchi objective, don’t suddenly contest a heavily defended zone just because gunfire sounds nearby.
Noise, visibility, and information warfare
Gunfire is only one part of combat. Information control is often more important:
- Sprinting, unsuppressed fire, and aggressive movement reveal your position.
- Door usage, zipline timing, and utility effects can telegraph intent.
- Positioning on high-ground or long sightlines lets you choose when fights start.
Play with the mindset: “If I can hear them, they might hear me; if I can see them, I may already be seen.”
Armor, healing, and time-to-kill awareness
Beginners lose winnable fights by re-peeking while damaged. Build a habit:
- Break line of sight immediately after taking heavy damage.
- Heal before re-engaging unless you have clear advantage.
- Use utility to buy healing time instead of “ego peeking.”
Know your weapon’s effective range and damage rhythm. If your gun dominates 20-40 meters, don’t force point-blank duels in tight corridors unless there is no alternative.
Economy and stash management
The Sekiguchi path usually gives enough baseline resources to stay stable if you avoid panic spending. Set a beginner budget rule:
- Spend only what you can lose three times in a row.
- Keep at least 2-3 backup kits prebuilt for fast queue re-entry.
- Sell low-utility clutter regularly; don’t hoard everything “just in case.”
A healthy stash means you keep learning without fear. A bankrupt stash makes every decision emotional and slow.
Contracts and objectives
Contracts are progression engines, not side flavor. The Sekiguchi contract chain introduces map traversal, terminal interaction, courier objectives, elimination checkpoints, and extraction conditions. Read contract text carefully before deploying. Many “failed” runs actually complete progress if you satisfy the condition and extract safely.
When objectives conflict (example: loot-heavy route vs high-threat elimination step), split them into separate runs. Specialization per run increases completion reliability dramatically.

Early Game Tips
Prioritize survival rate over highlight plays
In your first few hours, aim for a clear metric: consistent extraction. If your extraction rate rises, everything else improves automatically (credits, unlocks, confidence, map memory). A player extracting with moderate loot will out-progress a player winning occasional fights but dying often.
Use a “two-objective rule” per run
Do not enter with five goals. Pick only two:
- One primary objective (Sekiguchi contract step).
- One secondary objective (safe loot route or specific material farm).
If both are done early, extract. This discipline prevents late-run greed deaths.
Learn one map route deeply before branching out
Most beginners spread attention across too many zones. Instead:
- Memorize one low-to-mid risk loop with 3-5 loot points.
- Learn two backup rotations if your route is contested.
- Identify one emergency extraction path that avoids choke points.
After this route is automatic, add a second map loop. You will feel your decision speed increase because less mental energy is spent on navigation.
Build a practical combat routine
Before each engagement, quickly check:
- Do I have cover and an exit path?
- Is my weapon in optimal range?
- Do I know enemy count or only one angle?
After each engagement:
- Reposition immediately (don’t heal in predictable spots).
- Reload and restock utilities.
- Assume third-party teams heard the fight and may collapse.
Farm smart, not hard
Early resource farming should focus on repeatable value:
- Low-risk material clusters used in common upgrades.
- Contract-linked drops that advance Sekiguchi milestones.
- Vendor-friendly loot with reliable sale value.
If a route gives slightly less loot but much higher extraction consistency, it is better for beginners than high-spike, high-loss routes.
Play your “last 3 minutes” with intent
A huge percentage of beginner losses happen near extraction. Final minutes should be boring and controlled:
- Avoid fresh fights unless unavoidable.
- Rotate wide around obvious ambush lanes.
- Use utility preemptively when crossing exposed space.
Think of the run as already won once objectives are done; your job is to not throw.

Common Mistakes to Avoid
1) Overgearing too early
Bringing expensive kits before you understand maps and pacing causes painful economy crashes. Use solid, affordable kits until your extraction rate stabilizes. Save premium gear for contract checkpoints or squad sessions where coordination is high.
2) Ignoring contract text details
Sekiguchi steps often include exact conditions (specific terminal, location tier, extraction requirement). Skimming text leads to wasted runs. Read the objective fully in lobby and again on spawn so you do not complete the wrong action chain.
3) Taking every fight you see
Not every enemy is a target. If a fight does not support your current objective, disengage. Chasing random gunfire is one of the fastest ways to lose progress, consumables, and time.
4) Looting too long in one place
Static players are predictable players. Extended looting in one building increases chance of being tracked or collapsed on. Set a personal loot timer (for example, 30-45 seconds per room cluster), then move.
5) Extracting too late
Greed is the classic extraction-shooter trap. If your contract step is complete and inventory is decent, leave. “One more building” often turns a successful run into a total loss.
6) Neglecting healing and utility economy
Many beginners buy weapons first and forget sustain items. A good med/utility setup wins more fights than a small weapon upgrade. Always reserve budget for heals, movement tools, and one defensive utility.
7) Failing to review deaths
If you die and instantly queue again without reflection, you repeat the same pattern. Spend 20 seconds asking:
- Was I overexposed?
- Did I fight outside my weapon range?
- Did I overstay after noise gave away my position?
One correction per run compounds quickly.

Essential Controls & Settings
Keyboard and mouse priorities
Exact defaults vary, but your setup should prioritize fast, low-stress actions:
- Bind heal and utility to easy keys near movement.
- Keep melee and interact separate to avoid accidental swings during objective interactions.
- Use dedicated keys for weapon slot 1/2 instead of scroll-only switching.
- Place push-to-talk where you can communicate while moving.
If you frequently misclick under pressure, simplify binds. Clean muscle memory beats “pro-level” complexity.
Controller priorities
For controller users, survivability improves when high-frequency actions are on minimal finger travel:
- Map jump/slide to a layout that allows aiming while moving.
- Use contextual ping or communication wheel for quick squad info.
- Set interact priority to reduce accidental item swaps in dense loot zones.
If available, test one alternate layout for 3-5 matches before deciding. Early adaptation is easier than relearning later.
Sensitivity and aiming setup
A practical beginner baseline:
- Use a sensitivity that allows smooth tracking at medium range without overflicking.
- Lower ADS sensitivity slightly if recoil control feels unstable.
- Disable excessive acceleration if your aim feels inconsistent.
Do not copy elite streamer settings blindly. Your goal is repeatable control, not raw speed.
Video settings for competitive clarity
For most players, visibility matters more than visual effects:
- Prioritize stable frame rate over ultra graphics presets.
- Reduce distracting post-processing (motion blur, film grain, heavy bloom) if available.
- Increase contrast/clarity only to the point where enemies remain readable without eye fatigue.
A steady frame rate improves tracking, reaction timing, and confidence in close fights.
Audio settings that actually help
Audio is your early warning radar:
- Raise effects volume relative to music so footsteps, doors, and gunfire cues stand out.
- Use stereo/spatial mode that gives reliable direction cues on your headset.
- Lower voice chat slightly if comms are overwhelming critical sound cues.
Spend ten minutes tuning audio once; it pays off every match.
Progression System
How leveling typically works
Marathon progression generally has layered tracks: account level, faction/contract reputation, gear unlock tiers, and stash/economy growth. The Sekiguchi Contract sits at the center early because it feeds all four layers at once.
- Account level: unlocks broader access and systems familiarity milestones.
- Contract reputation: unlocks specific items, discounts, or mission tiers.
- Gear progression: expands mod options and role specialization.
- Economic progression: improves your ability to field consistent loadouts.
Best way to progress in the first 10 hours
Use a simple loop:
- Queue with one Sekiguchi objective and one low-risk farm objective.
- Complete objective, loot efficiently, extract early.
- Reinvest profit into 2-3 duplicate kits.
- Repeat until next contract threshold unlocks.
This loop minimizes downtime and avoids the boom-bust cycle where one bad run wipes out progress.
Unlock strategy: breadth first, then specialization
Early unlocks should increase flexibility:
- A dependable primary in your comfort range.
- A secondary that covers your weak range.
- At least one escape utility and one information utility.
- Affordable healing options.
After you can build stable kits cheaply, start specializing by playstyle (stealth recon, hold-and-control, fast flank, etc.). Specialization before baseline stability creates fragile progression.
When to move into harder objectives
Advance difficulty when these are true:
- You can extract reliably with basic kits.
- You know at least two safe rotations per map area.
- You can recover from bad openings without panicking.
If you fail hard objectives repeatedly, step down for 2-3 economy runs, rebuild supplies, and retry with a cleaner plan. Progression is not linear every session, and temporary resets are normal.
Solo vs squad progression
Solo play accelerates map awareness and self-reliance; squad play accelerates objective completion and combat success. For beginners:
- Use solo runs to learn routes and sound discipline.
- Use squad runs for difficult Sekiguchi milestones and contested areas.
Alternating both prevents dependency while keeping momentum high.
Resources & Where to Find Help
Use official sources first
Patch notes, official channels, and developer posts should be your baseline truth. Marathon systems can change quickly, and outdated advice causes bad habits. Before committing to a long progression plan, check the latest balance and objective updates.
Community hubs worth using
- Official Discord or forums: fastest updates, maintenance notices, and known-issue tracking.
- Community subreddits and LFG channels: practical loadout discussion, route screenshots, and group finding.
- Creator guides: useful for visual route learning, but verify date and patch version.
When reading community advice, prioritize posts that include context: patch number, map, objective type, and whether guidance is for solo or squad.
Wikis and build planners
A good wiki helps with:
- Contract prerequisites and branching paths.
- Material drop locations and usage.
- Weapon stats, recoil behavior, and mod compatibility.
Use build planners to avoid wasting credits in trial-and-error loadout experiments. Plan one “budget kit” and one “push kit” in advance, then buy intentionally.
How to ask better questions and get better answers
If you want useful help from experienced players, be specific:
- “I’m stuck on Sekiguchi Step X, solo, losing at extraction on Map Y.”
- Share your loadout, route, and where deaths happen.
- Ask for one change at a time (positioning, weapon choice, utility timing).
General questions get general advice. Specific questions get actionable solutions.
Personal improvement toolkit
Create a lightweight improvement routine:
- Track extraction rate across your last 20 runs.
- Record your top 3 death causes (overpeek, late extract, poor route, etc.).
- Choose one correction goal per session.
This method keeps improvement measurable and prevents emotional tilt from short losing streaks.
Final beginner roadmap
If you are unsure what to do next, follow this order:
- Stabilize controls, sensitivity, and audio settings.
- Run affordable kits focused on extraction consistency.
- Advance Sekiguchi contract steps with a two-objective rule.
- Learn one map deeply, then add a second route.
- Scale into harder objectives only after survival and economy are stable.
Marathon rewards patience, planning, and disciplined exits. Master those early through the Sekiguchi contract, and everything else in the game becomes easier, faster, and far more fun.